Graduation Centerpiece – Graduation Flower Vase DIY Craft
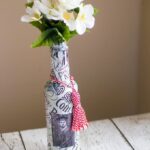
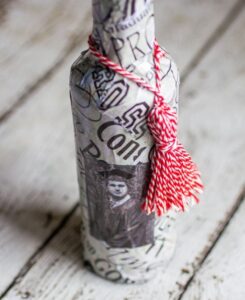
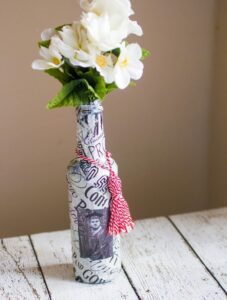
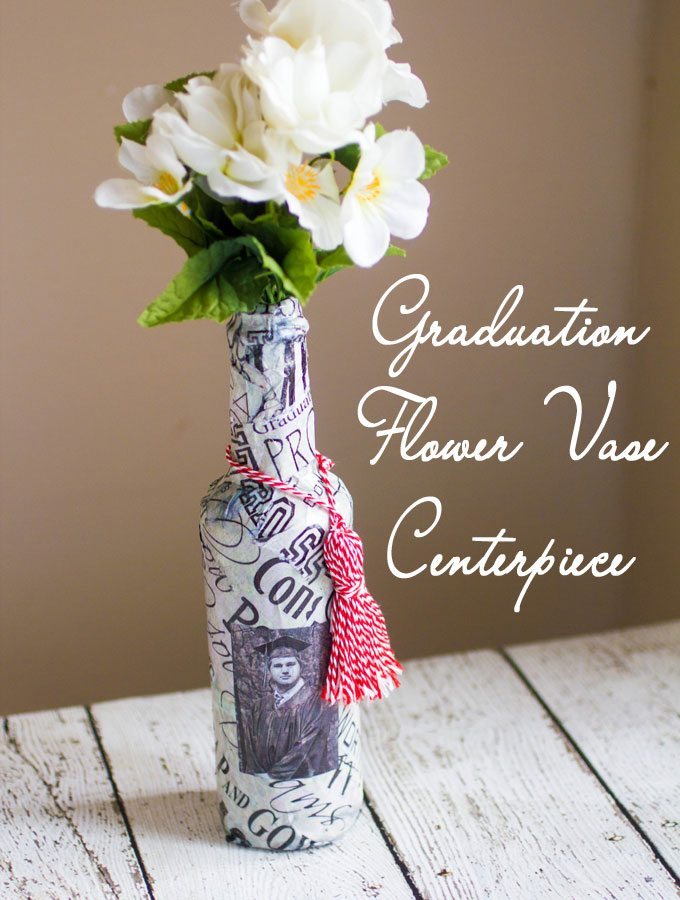
This cute and easy Graduation Centerpiece – DIY graduation vase craft, features a trash to treasure bottle, the graduate, as well as using the tassel for a lasting gift idea.
I love making crafts, but I rarely have time for it these days.
I love making handmade things for friends and family for Christmas, but that is about the only time I seem to get to do it with my busy schedule and life. Ha!
Plus I am a little rusty.
However, I wanted to make some a graduation centerpiece for the tables at a graduation party, so this is one of the finished products.
We have recently remade these for our Fathers day BBQ, complete with pics of daddy and kids, and grandpa and kids.
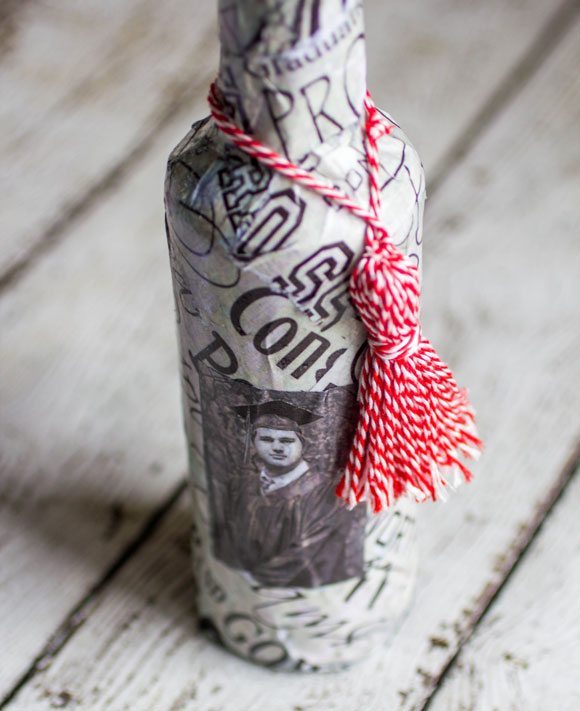
When I originally set out to make this graduation centerpiece craft, I wanted it to be something I could reuse after the party, subtle but interesting.
My son has always brought me flowers since he was able to walk. He would come toddling up to me with his chubby little fists grasping dandelions and insist I put them in water.
As he got older, he would cut flowers from my garden and thus began a lesson on when it was ok to cut a flower and when it still had time to grow.
Even through high school, he would spontaneously come home from work carrying a bouquet of flowers for me.
I think he liked seeing me smile. He still does.
In honor of his flower obsession, I decided the centerpieces needed to reflect that sweet memory. And because I think he will never tire of bringing me flowers once in awhile, I now have several vases to display them in on my mantle.
Look at these adorable Dollar Tree Holiday Crafts
- Dollar Tree DIY Spooky Halloween Centerpiece
- DIY Dollar Tree Fall Floral Centerpiece
- Christmas Tree Table Centerpiece
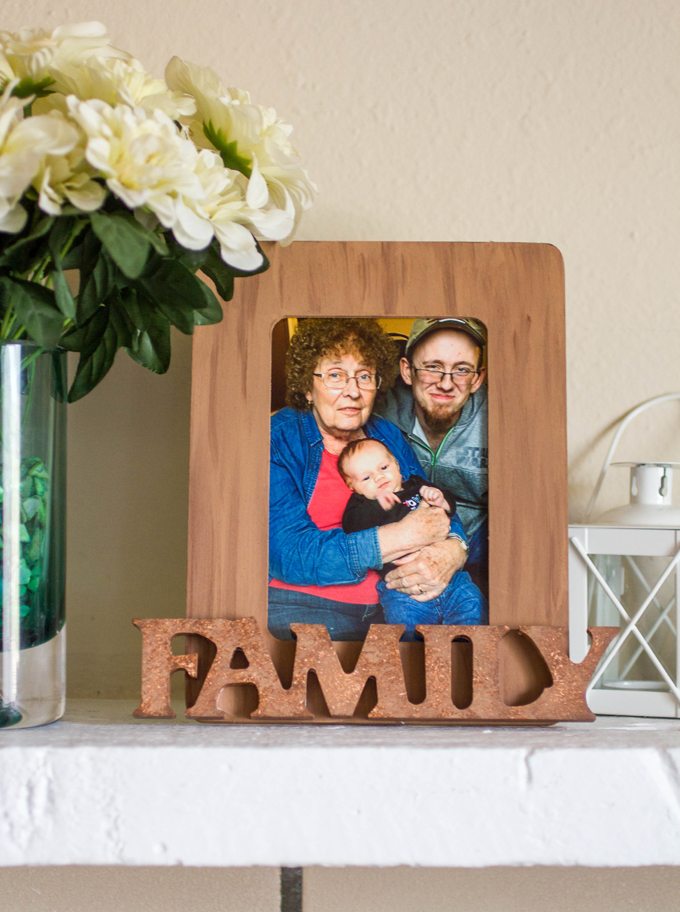
- Handmade Family Frame – Last Minute DIY Gift Idea
- DIY Spring Decor
- Graduation Flower Photo Vase DIY Craft
Ready to learn how to make this cute graduation centerpiece idea?
Graduation Vase DIY Craft Trash to Treasure
Equipment
- printer
Materials
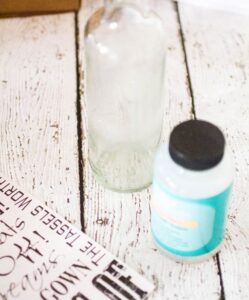
- glass bottles in various sizes and shapes or simply a single bottle
- scrapbook paper tissue paper, wrapping paper, newspaper, etc.
- printed photos
- All-In-One Decoupage Glue
Instructions
- Step 1: Gather your supplies.

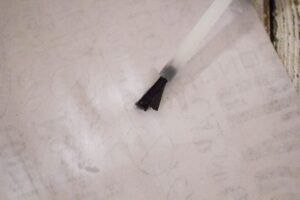
- Step 2: Apply Decoupage Glue to the back of your paper or directly on the bottle. I did a little of both.

- Step 3: Wrap the paper around the bottle, overlapping and smoothing down. Do not worry if it doesn’t immediately stay down. Apply more decoupage glue and smooth again. Allow to dry, and then reapply another coat of the decoupage glue. I allowed it to dry about 30 minutes in between coats.

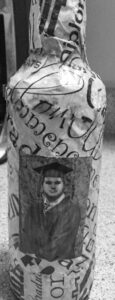
- Step 4: Using the decoupage glue, apply your photo to the outside of the bottle in desired position. Apply another coat of decoupage glue to entire bottle surface. Allow to dry for at least 1 hour. If you try to do anything else to it before an hour is up, the glue is much to sticky and your fingers will stick to it and pull some of the paper away.
- Step 5: While I waited for the bottles to dry, I made several tassels wrap around the necks of the bottle. You can use the tassel from the graduation, but being that I wanted to preserve it, I made my own.

- Step 6: Simply Wrap the tassel around the neck of the bottle, insert some flowers and place in clusters of three on the table.

So easy!
